The School Magazine and you

We all want to reach young readers, don’t we? Well, did you know that THE SCHOOL MAGAZINE is always looking for new texts to engage and inspire young readers between the ages of 8 and 12?

THE SCHOOL MAGAZINE, Australia’s iconic literary magazine for children, has always accepted unsolicited manuscripts. Submissions are assessed purely on their merits, so emerging writers and established authors alike are welcome to send in their work.

So what types of texts does THE SCHOOL MAGAZINE want? The short answer is: whatever children love to read.

Writers:

Young readers love suspense, action, comedy, twists, science fiction, fantasy and credible characters. They love original and fresh texts that are written just for them.

  • short stories—particularly for the younger readers—with a word length of 300-800 words

  • plays—easy-to-stage with a maximum of 1500 words

  • articles—dynamic, interesting and soundly researched. Again, keep these short.

  • Familiarise yourself with the magazine. Visit their website to view lots of writing examples.

  • Remember that young readers are part of a multicultural, diverse and inclusive society and the magazine aims to reflect this.

  • Avoid being overly didactic and message-driven.

  • Remember that The School Magazine is part of the Department of Education so carefully consider the portrayal of teachers, schools and controversial topics.

 Submitting is easy! Go to their contribute page to upload your text. Authors retain copyright of their material. A recent policy change has seen an increase to the payments writers receive which are now paid on publication. 

Illustrators:

THE SCHOOL MAGAZINE rarely opens their eligibility list. This usually happens mid-year but it pays to check their page for illustrators from time to time.

The magazine DOES accept one-panel cartoon submissions at any time.

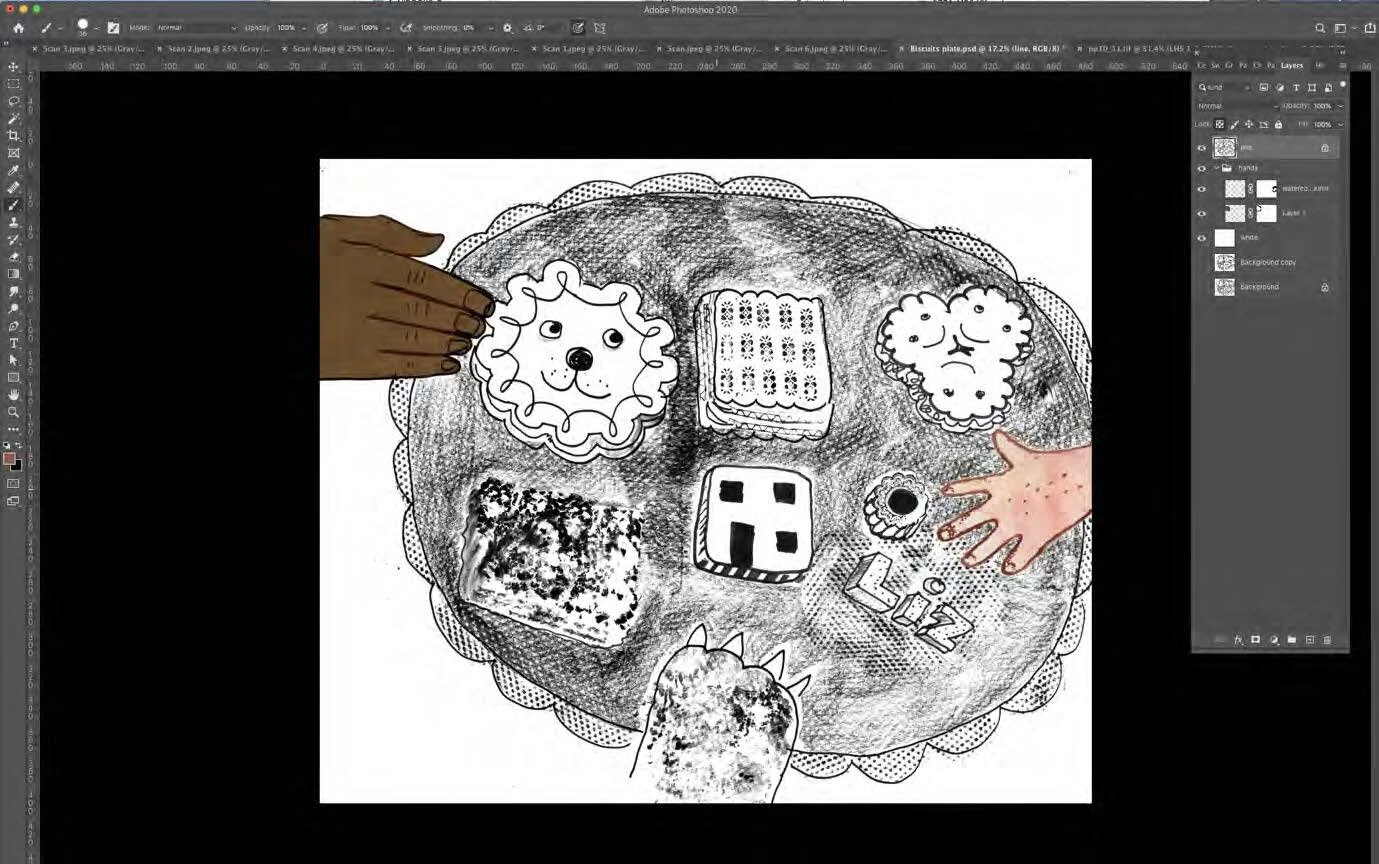
They also accept short graphic texts such as re-tellings of traditional tales.

Each year, the magazine calls for comic serials - usually in June. Read the guidelines and perhaps start creating one now so that you’ll be ready to submit in 2022!

Photoshop Tips By Liz Anelli

My illustration work relies heavily on drawing and I have found over the years that I can lose line quality and vivacity if I try to recreate a drawing ‘in best’.

So nowadays I mostly now use the original drawings. But these usually need to be tinkered with.

Photoshop is like driving a car. There’s loads of stuff under the bonnet and I don’t even know what most of it called - but that doesn’t matter because all I want to do is go for a drive. There are also many different ways of driving – and possibly all of them are correct.

Here is one way of removing background from a drawing so that you can use it as the line layer for your artwork.

1. Scan in Greyscale.

Photoshop Tips By Liz Anelli_v2 1.jpg

2. I always duplicate that layer – so if I mess it up I still have the original.

3. Then from top menu bar select: Image > Adjustment > Levels

4. Use the eye droppers to decide on values for the whitest (the ‘white point’ = far right dropper) and the blackest (the ‘black point’ = left dropper) areas – so that you have plenty of contrast. It’s worth experimenting with this stage to get more or less graininess and texture.

Photoshop Tips By Liz Anelli_v2 2 copy.jpg

5. Select the whole image and make it a channel.

Photoshop Tips By Liz Anelli_v2 5 copy.jpg

6. Then Invert the image in this new channel (command + i).

7. Load the selection (the little circle at the bottom of the channel box).

8. Go to your Layers > open a NEW layer > Edit > Fill that layer in black… and Ta Dah … you have your drawing in black line all by itself, complete with all the lovely texture of your pencil drawing/print/collage.

Photoshop Tips By Liz Anelli_v2 8.jpg
Photoshop Tips By Liz Anelli_v2 9.jpg

9. It’s a good idea to rename that layer ‘Line’…

Photoshop Tips By Liz Anelli_v2 10.jpg

10. …and to add another layer underneath called ‘white’ that is filled with white. This makes it much easier to see what you’re doing as you work on the line layer.

11. Locking the line layer means you can colour just the line using the brush tool. The rest is really transparent … it only looks white here because of that White layer underneath.

Photoshop Tips By Liz Anelli_v2 11 copy.jpg

12. I bring in scanned in collage/ paint or use the photoshop colours underneath the line layer.

Photoshop Tips By Liz Anelli_v2 12.jpg
Photoshop Tips By Liz Anelli_v2 13.jpg

13. You can have as many line layers as you like… bringing it separate bits of drawing.

14. Just remember to lock the layer if you want to colour ONLY the line

Photoshop Tips By Liz Anelli_v2 14.jpg
Photoshop Tips By Liz Anelli_v2 15.jpg